
We have a couple more projects to share before we batten down the hatches for winter.
The first is the completion of the gravel driveway around the Morton. It only took us a year, but we can finally drive through and around our building! The five-inch thick concrete pad was literally a cumbersome hill to climb—even with our truck. Additionally, the flat area east of the building sits at the bottom of a steep slope, often making for quite wet, muddy conditions. But alas, resolution!


It took eight truckloads of rock to complete this phase of the project. We now have significantly more access to our building and the area around it, which will help us immensely when it comes time to build our rainwater collection system and start our garden.
The infamous slope to the east of the building has been an interesting area. The pictures can’t quite capture how steep the terrain really is. It’s an area we covered in coconut fiber blankets last year, seeded with our prairie mix, and added wattles at the base to help mitigate the erosion potential there. The area was the result of the grading required to create a flat building site for the Morton. The subsequent slope is quite exposed and receives a fair amount of sunlight and precipitation. Interestingly, of all the areas we seeded last November, this one has performed the worst, by far.

Despite having some of the most ideal conditions in terms of light and moisture, the slope failed to yield much growth at all. The one plant seen to the right of center is a butterfly plant we purchased at a nursery over the summer. That plant did not survive; it was heavily foraged by our deer population, and we suspect the soil conditions are suboptimal.

Even areas with steeper slopes, less light, more erosion control blanket layers, and less exposure to moisture grew great, thick prairie from the same seed we broadcasted at the same time. So what is wrong with that slope to the east of our building? We have our suspicions.
Our land has a lot of clay. A lot! What we learned while digging seven large holes for maple trees this fall is that in general, the first 12” is pretty good soil. It’s dark and rich, it holds lots of moisture, it’s home to many insects and worms, and it’s fairly dig-able. Past that, it’s a lot of dense, pale, lifeless clay. Our working theory is that the abundance of annual leaf litter along with the natural decay of fallen trees and limbs has created decent quality top soil over time.
Luckily, most of the areas we seeded with prairie last winter were minimally disturbed surfaces—in fact, that’s how we’d classify all but one. The hill is the single outlier. As a result of the grading of the land last summer, the slope to the east of the building is essentially a cross section view, cut nearly eight feet deep into the land. That deep, we didn’t find rich, dark, nutrient rich, aerated, soil buzzing with life; we found dense, lifeless dirt (clay).
After constructing our massive pollinator planter bed this summer with marked success, we began brainstorming about how to attract even more pollinators to the area. How could we nourish the pollinators without losing everything to the deer? Milkweed. After that, we needed to figure out how to best turn that desolate hill into a pollinator hot zone. We still needed the erosion control because of the slope and exposure to the elements, but we also needed a more habitable growing medium, and we needed a method to keep seeds in place through germination. So here was the solution:
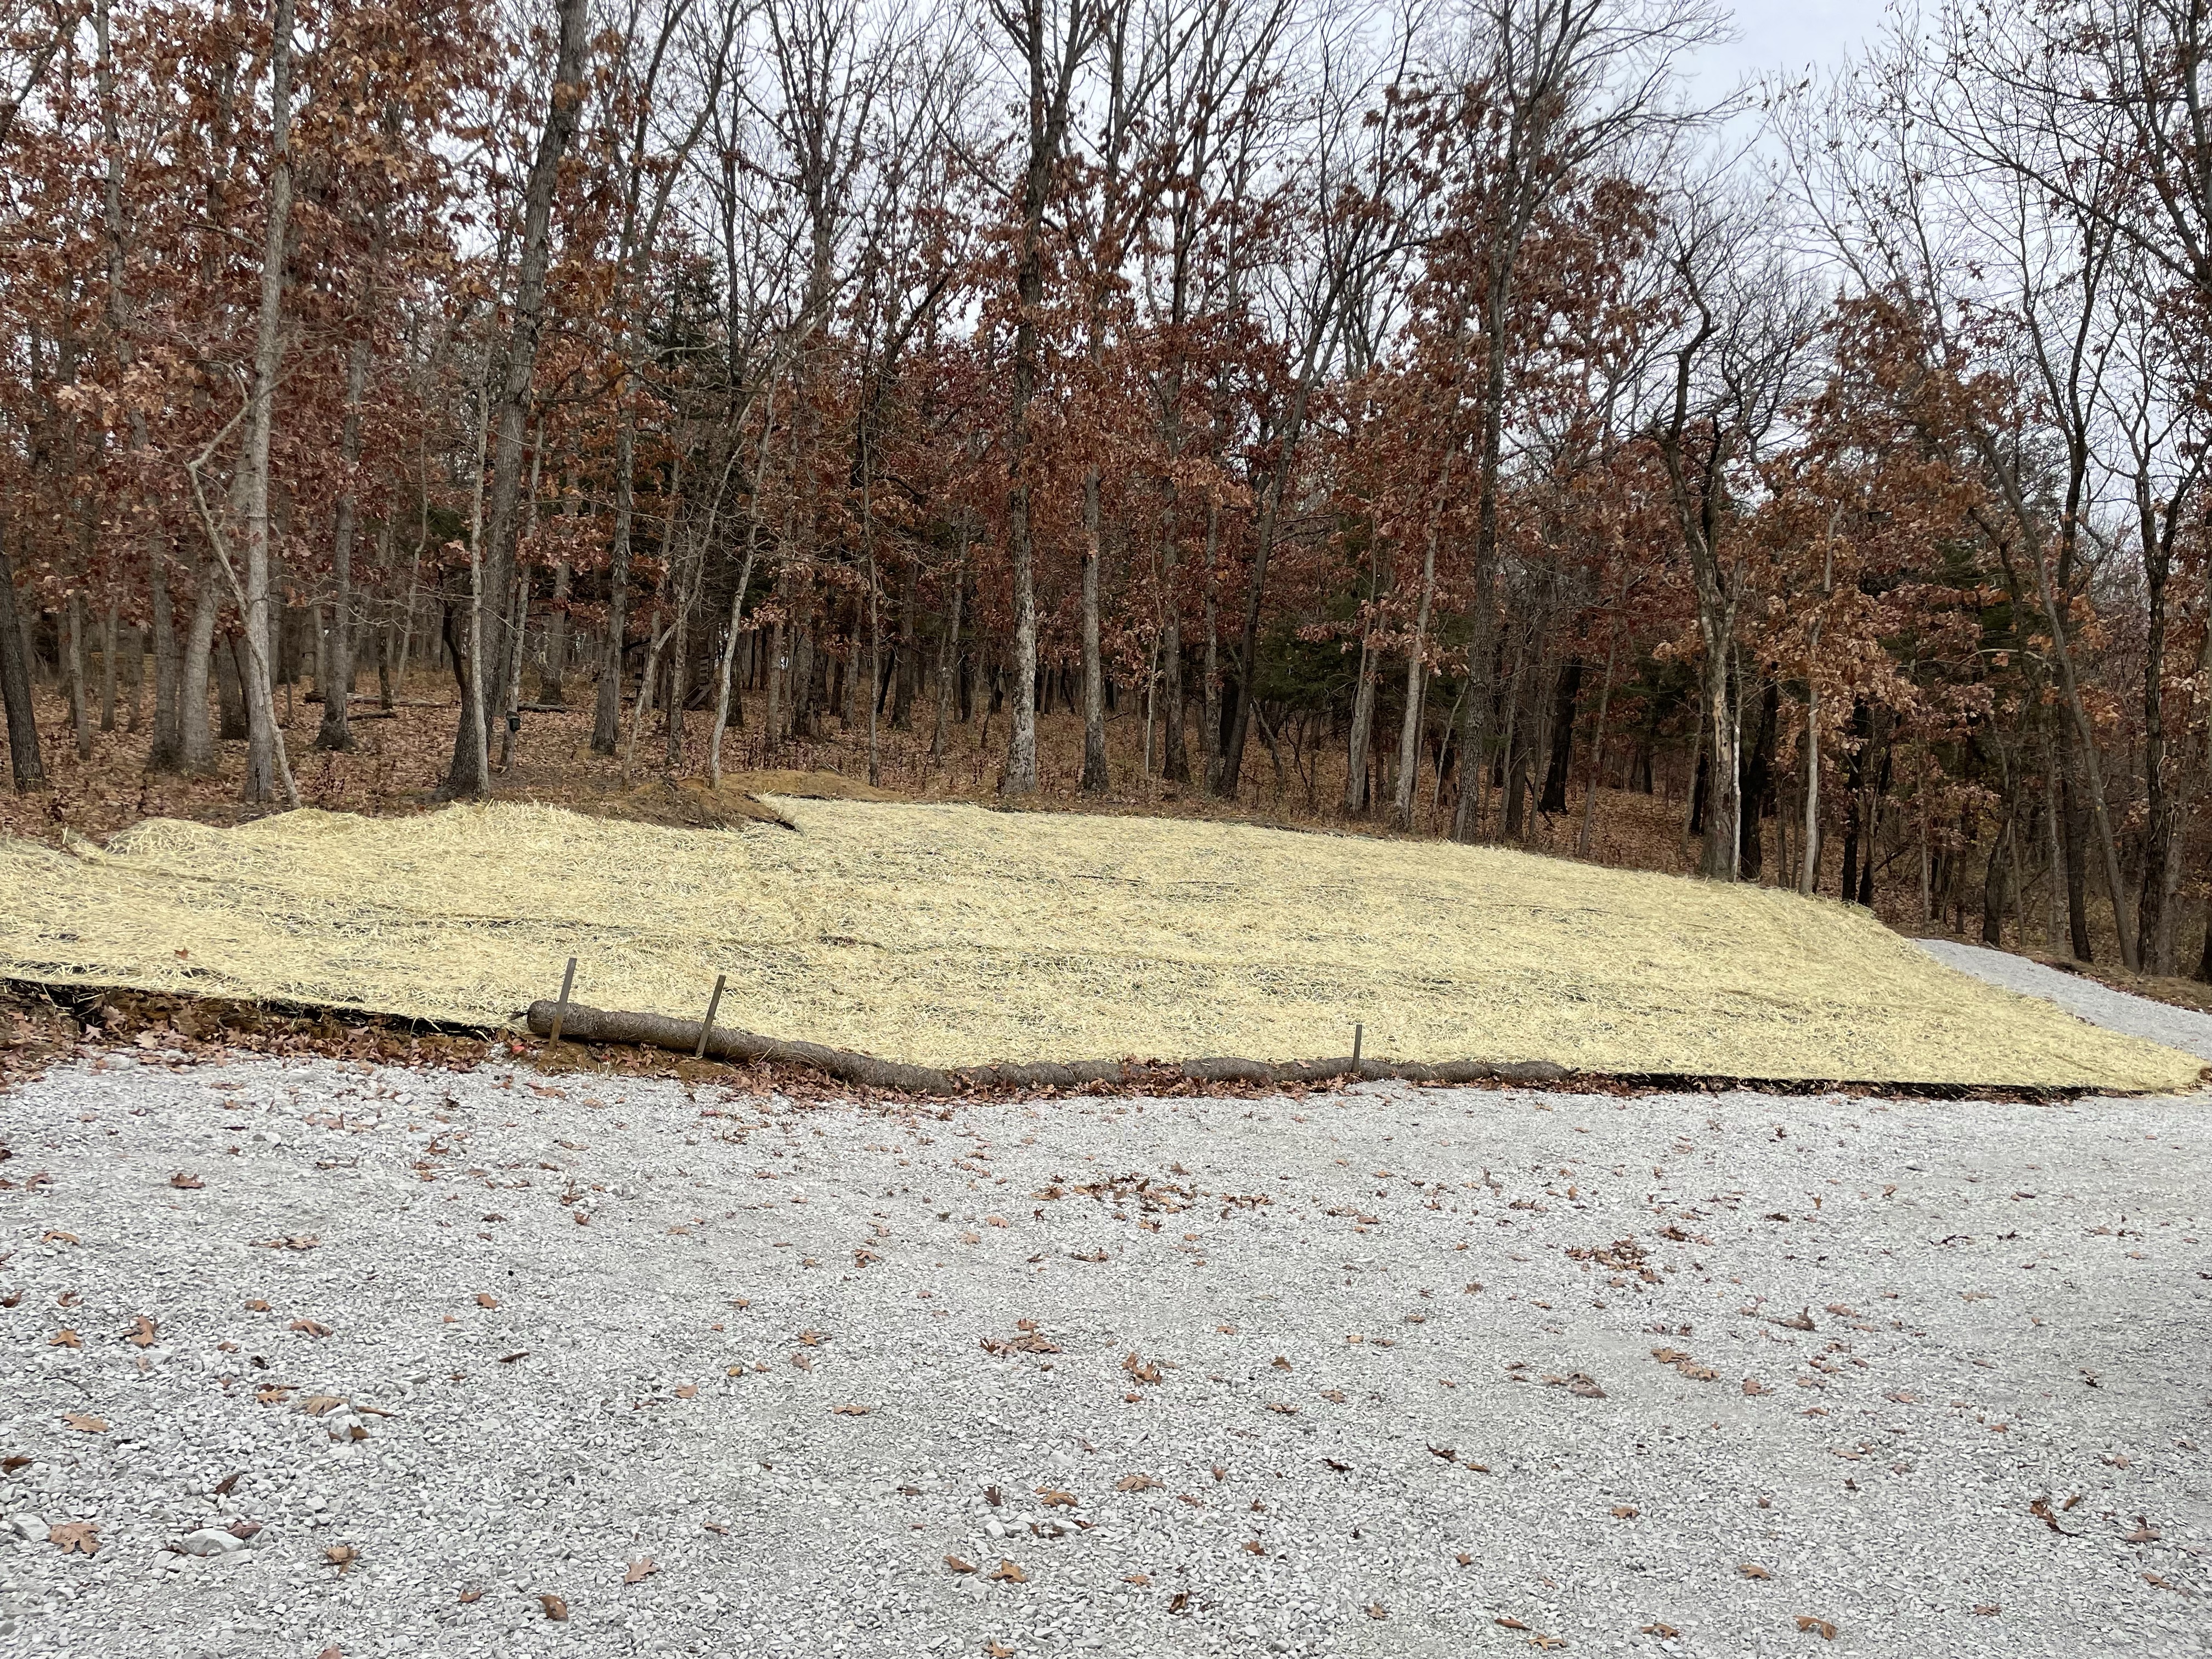
We left the coconut fiber blankets with biodegradable stakes and straw wattles in place; they did a great job this last year minimizing erosion on the exposed slope, and they’ll naturally degrade over time. Next, we needed soil—high quality, rich and nutritious soil. So, we spread a two inch thick layer of soil over the blankets.

Next, we broadcast seeded nearly 70,000 milkweed seeds of seven different native varieties over the new, decadent soil. To protect the seed and keep it in place through winter and spring, we topped it off with a layer of seedless straw blankets. Now, we wait and hope for a glorious display next year.

In order to extend our pollinator reach even further around the building, we also seeded a barren patch of land in a similar way with purple coneflower seeds harvested from my mother’s prairie. The area is where a pile of base gravel leftover from our Morton floor sat until we moved it around the building and used it to construct our planter bed this summer.


Our family helped us seed and lay down those straw blankets hours before the first snow fall of the season, and that’s not an exaggeration. Thanks Family!
The area just next to the building in the above photographs has developed a trench from gutter overflow during heavy rains. Don’t worry, we’ve developed a solution for that problem, but it’s been pushed until next year…how’s that for a cliffhanger?
Leave a Reply